Maintain your battery.
Maximise its life.
Dyson battery life is determined by multiple factors – like quality of maintenance and storage. It's not defined by a set number of years. So there are things you can do to keep your Dyson battery optimised and maximise its run time.
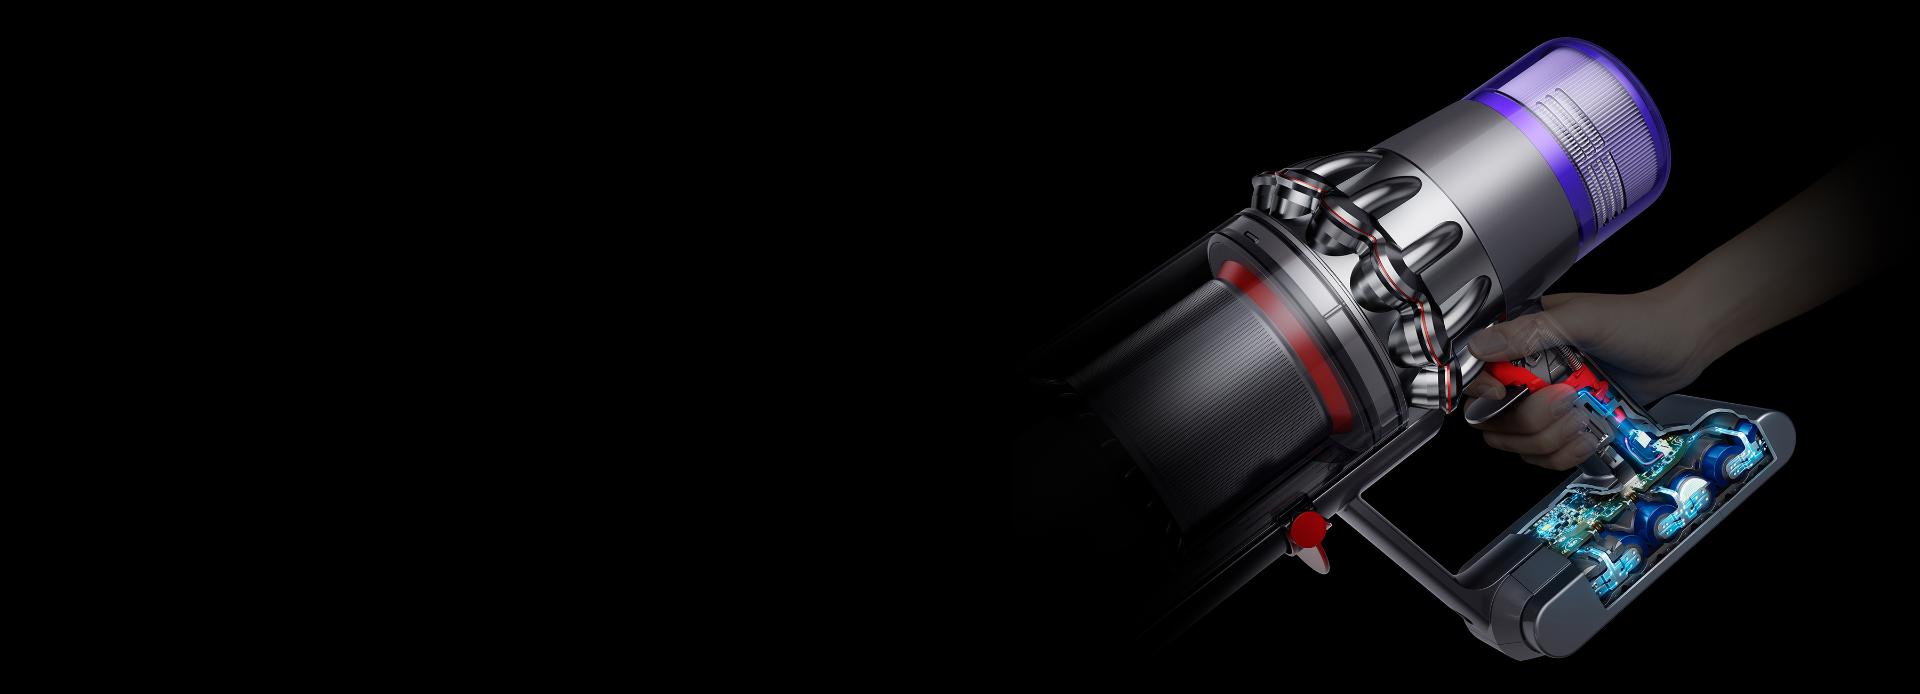
We give our batteries a hard time, so you can too
Getting the best from your battery
We engineer vacuums that are simple to use and easy to look after. But batteries contain complex chemical structures that react to their environment. We've put together some tips that will help you to get the maximum life from your battery.
-
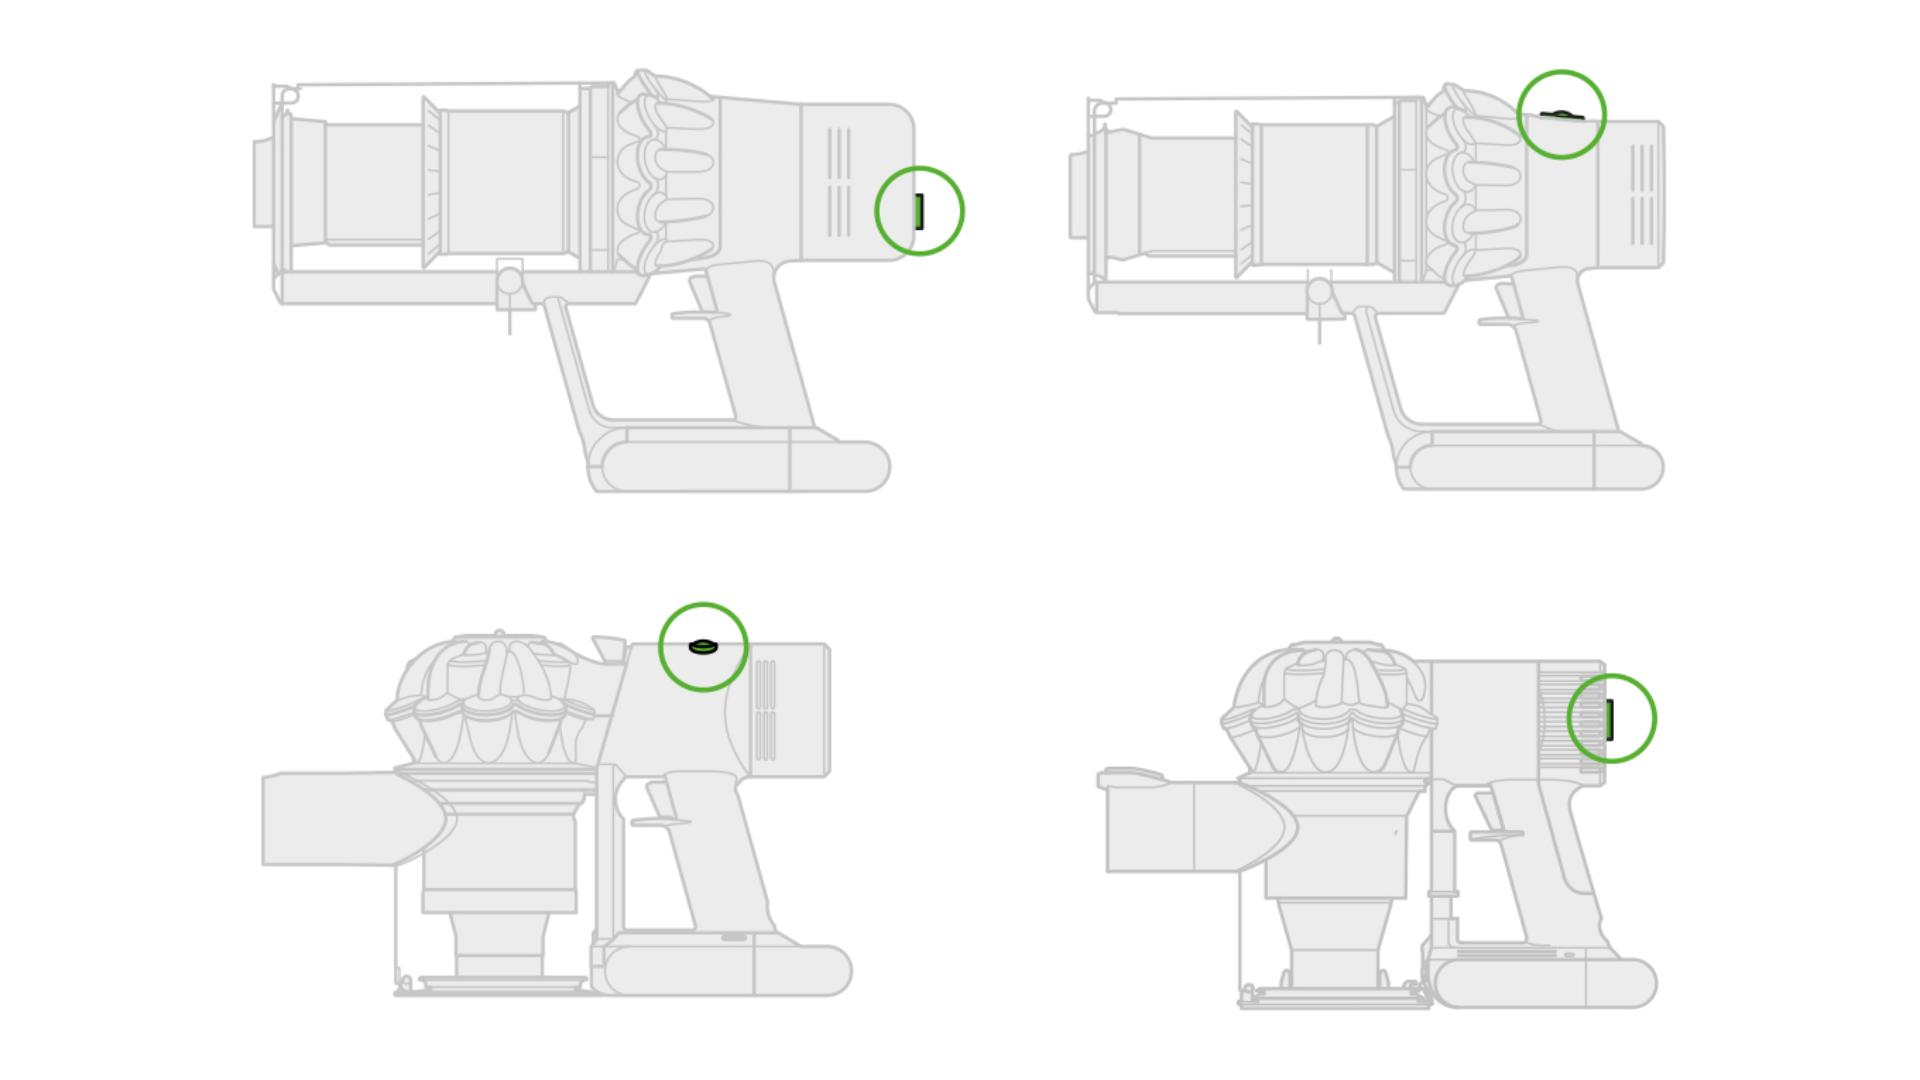
Use high power mode less
Your vacuum is designed to be used in Auto or Normal mode for everyday cleaning. These can be found and changed at the top or back of your vacuum. Max or Boost modes are meant for powerful, intensive bursts of spot cleaning. Using them constantly speeds up degradation of the battery. If your machine has Eco mode, run time is maximised for a longer clean. -
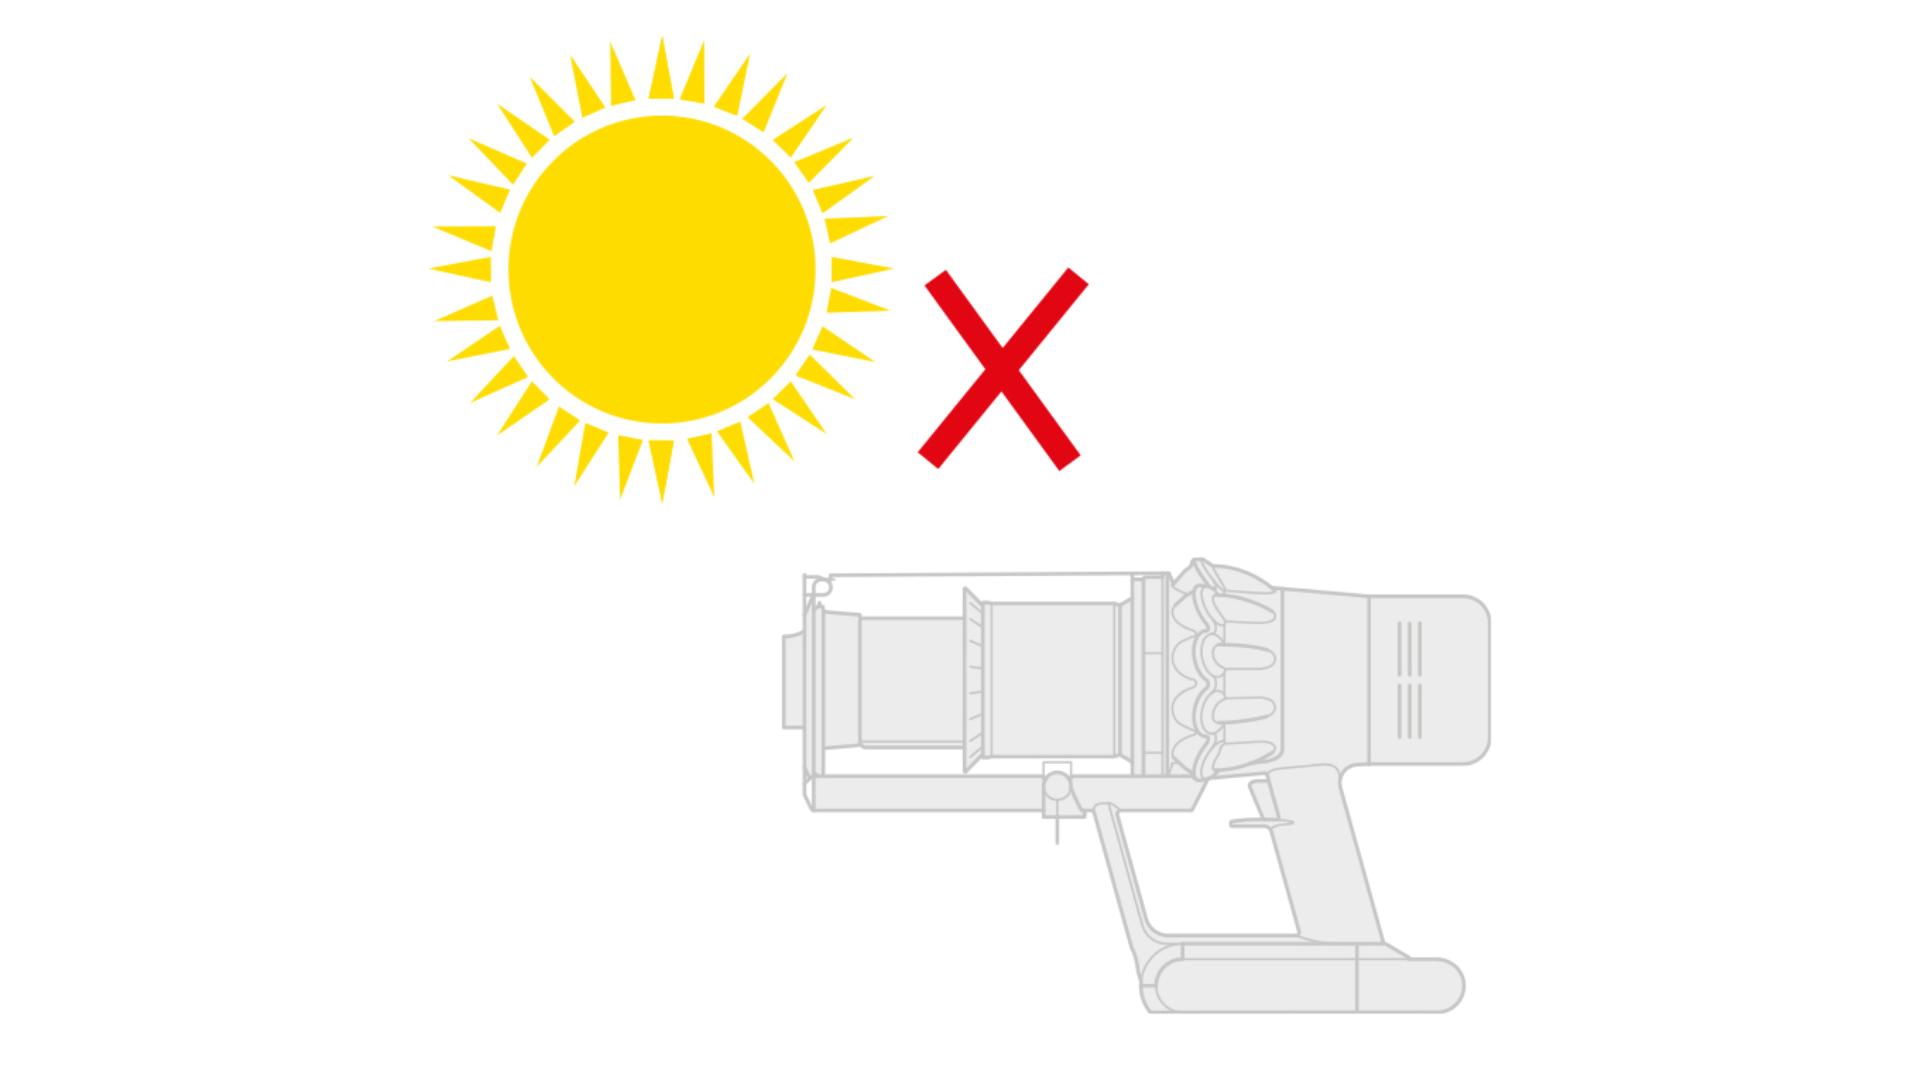
Avoid use in extreme heat temperatures
Hot environments speed up battery aging. So it's best to avoid cleaning the car in hot weather or leaving your vacuum in rooms that experience direct sunlight for prolonged periods. The same goes for cold porches and garages in winter. -

Store your vacuum at room temperature
Heat sources, such as radiators, can damage the battery. We recommend that you store your vacuum at temperatures between 18°C–28°C, away from direct sunlight and out of boiler cupboards. -
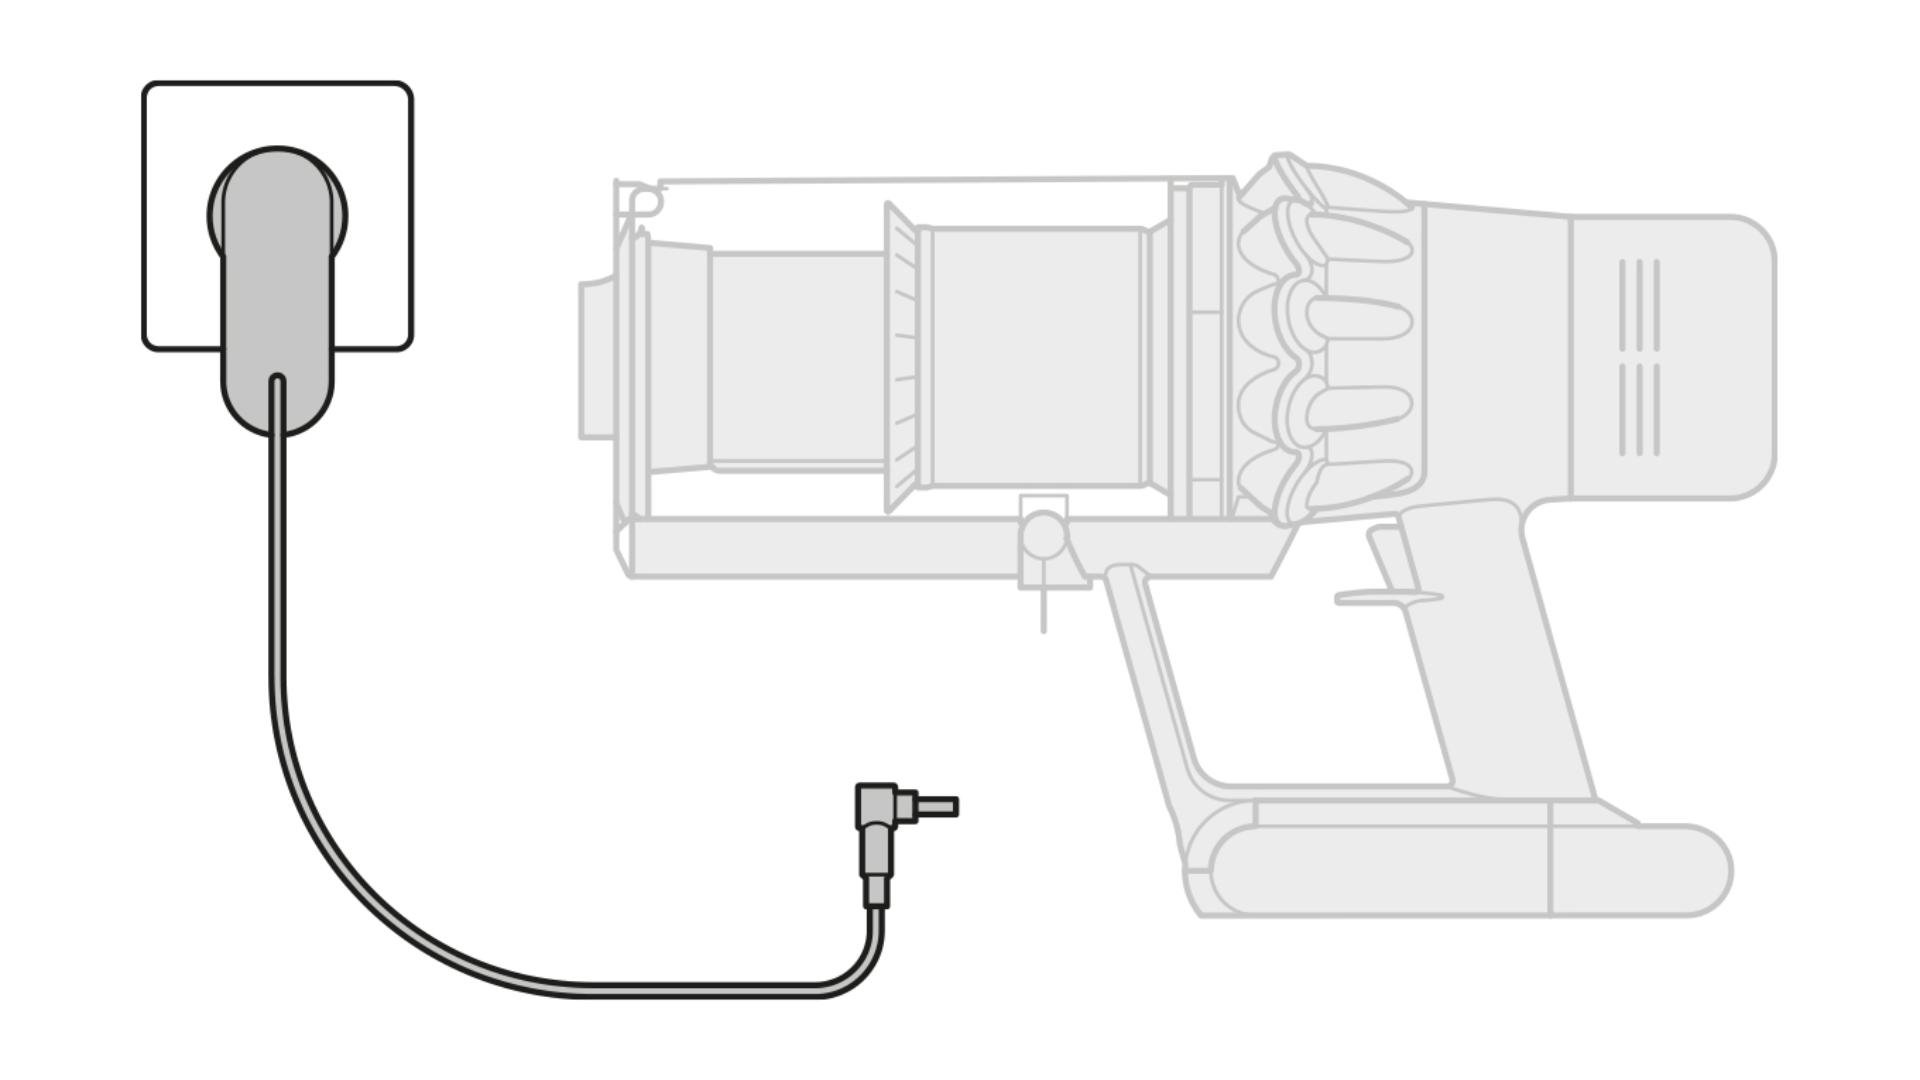
Let it cool, but not too much
You can preserve the life of your battery by letting your machine cool down after use – before connecting it back up to the dock to recharge.
Your machine won’t operate or charge if the ambient temperature is below 5°C (41°F). This is designed to protect both the motor and battery. -
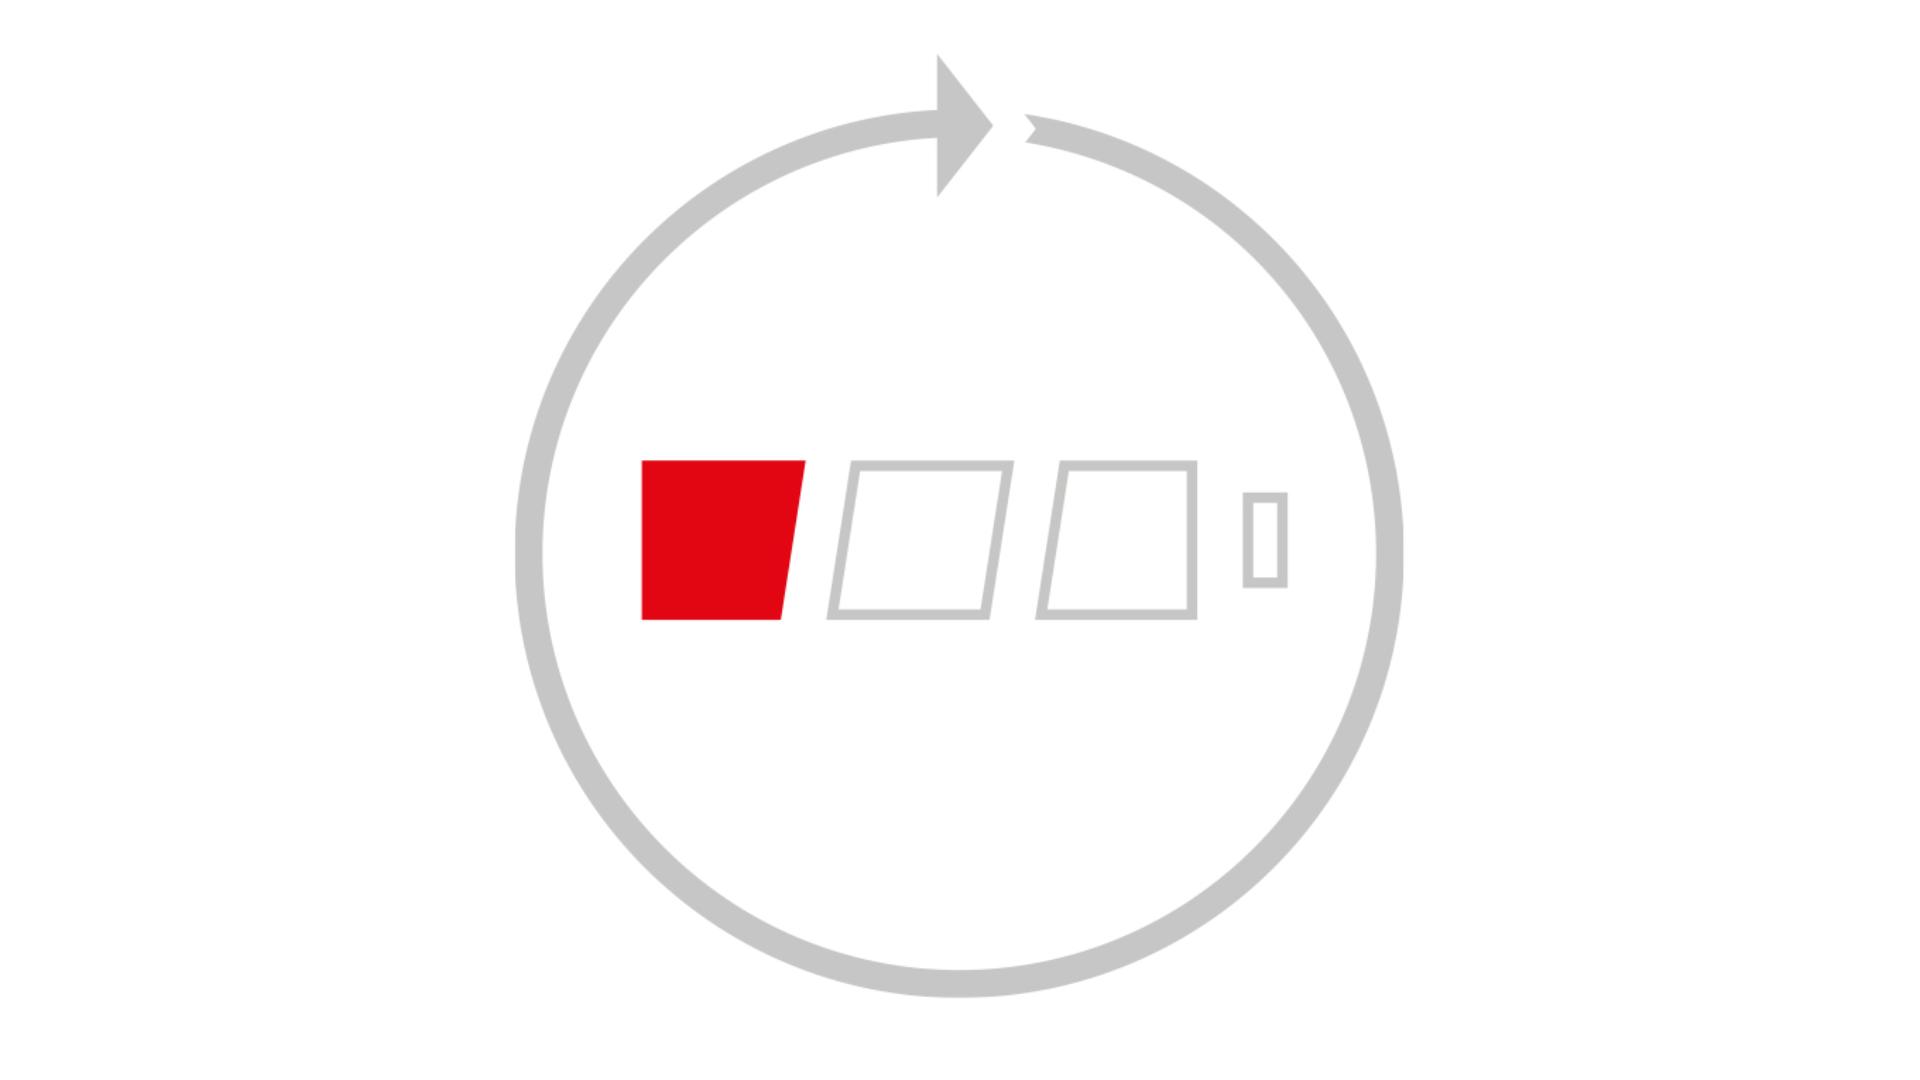
Give it a break
By letting the battery run down to empty at least once a month, you'll help to prolong its life. If you have a spare battery, we recommend you swap them out from time to time, so that they both have time to naturally discharge. -
Gen5detect™ and Gen5outsize™ vacuums
How to replace the battery on your Gen5detect™ and Gen5outsize™ vacuum
Step 1: Removing the click-in battery
Hold your hand under the battery to support it. Press the red battery release button and pull the battery away from the handle.
Step 2: Refitting the battery
Align the battery with the handle and slide it in. Push firmly until it clicks into place.
Step 3: Looking after your batteries
If you own an additional click-in battery, we recommend fully charging it soon after purchase, and alternating and charging all click-in batteries regularly to prolong battery health.
V15 Detect™ and V15 Submarine™ vacuums
How to replace the battery on your V15 Detect™ and V15 Submarine™ vacuum
Step 1: Changing the battery
Where you have additional click-in batteries, we recommend alternating and charging all click-in batteries regularly to prolong battery health.
Step 2: To remove a battery
Hold your hand under the battery to support it. Press the red battery release button and pull the battery away from the handle. Place the battery on charge.
Step 3: To install a battery
Slide the battery onto the handle until it clicks securely in place.
Step 1: Removing your battery
Push the B at ter y rele ase but ton on the handle and slide the battery off your machine.
Charge the battery
Step 2: Refitting your battery
Align your battery with the handle and slide it in. Push firmly until it clicks into place.
V11 and V10 vacuums
How to replace the battery on your V11™ or V10™ vacuum
Step 1: Before replacing your battery
Make sure your machine is unplugged, and read the instructions that came with the replacement battery.
Step 2: Prepare your machine
Remove the wand and place your machine on a stable surface.
Step 3: Remove the three screws
Using a small Posidrive screwdriver, remove the screw from the rear of the handle. Then remove the two from the underside of the battery. These are removed at an angle.
Step 4: Replace the battery
Detach the old battery from your machine's handle and dispose of it as per local codes and regulations. Attach the new battery to the handle.
Step 5: Secure the three screws
Secure the two screws in the underside of the battery at an angle of 30 degrees. Secure the third screw into the rear of the handle.
Step 6: Fully charge the new battery
Your new battery will only be partially charged. So it's important to fully charge it before using it for the first time.
V8 and V7 vacuums
How to replace the battery on your V8™ or V7™ vacuum
Step 1: Before replacing your battery
Make sure your machine is unplugged, and read the instructions that came with the replacement battery.
Step 2: Remove the three screws
Using a small Phillips screwdriver, remove the screw from the rear of the handle. Then remove the two from the underside of the battery.
Step 3: Replace the battery
Detach the old battery from your machine's handle and dispose of it as per local codes and regulations. Attach the new battery to the handle.
Step 4: Secure the three screws
Secure the two screws in the underside of the battery, and the third screw into the rear of the handle.
Step 5: Fully charge the new battery
Your new battery will only be partially charged. So it's important to fully charge it before using it for the first time.
V6 vacuums
How to replace the battery on your V6™ vacuum
Frequently asked questions
Dyson offers a 2-year guarantee on all cordless machines and parts, including the battery. If your machine is within its guarantee period, we'll replace the battery for you free of charge should it not be working to specifications. If you're an owner get in touch with our Dyson Expertsand we will be happy to help.
Dyson goes to great lengths to use the best battery technology. We perform significant safety checks and quality controls as part of the process. Only by using a genuine Dyson battery are you ensuring that your machine continues to work as intended, and that your guarantee remains intact.
Boost and Max mode can be used for powerful, intensive bursts of spot cleaning. These modes affect the run time of your vacuum, so we encourage you to use them only on certain areas.
Dyson machines are made from high grade recyclable materials. The battery should be removed from the machine before it's disposed of and recycled in accordance with local ordinances or regulations. If your battery needs replacing you can find a replacement online or get in touch with our Dyson Experts and we will be happy to help.
Lithium-ion batteries are built to last, with energy and power packed into a small area. Over time, all batteries are subject to degradation. So if your run time has declined when the machine is not in Max / Boost mode, it might be time to buy a new battery. All our machines come with a 2-year initial guarantee that includes the battery.

More support
-

Guides and helpful tipsHow to get your Dyson machine working to its full potential.
See all guides and tips -

TroubleshootUse our step-by-step tool to solve your machine's problem.
Start troubleshooting
